Photography for Beginners: Camera Settings You Need to Know
When most people buy their first camera, they're excited to capture incredible photos. Then they switch it on, see dozens of buttons, dials, and confusing menu options, and quickly leave it on Auto mode. The real question is, how can I become a better photographer? After taking over 100,000 photos over the last 10 years, I can tell you that you need to start off by learning the basics!
The truth is, you don't need to memorize every setting to take great photographs. You simply need to understand a few key concepts that give you creative control.
Welcome to Camera 101.
The Camera Isn't What Creates Great Photos
One of the biggest misconceptions is that expensive cameras automatically produce better images.
They don't.
A camera is simply a tool. The photographer decides how to use light, composition, timing, and storytelling.
Some of the world's most memorable photographs were taken with equipment far less advanced than today's entry-level cameras.
Learning your camera is far more valuable than constantly upgrading it.
The Exposure Triangle
Photography is all about controlling light.
Every exposure is determined by three settings working together:
- Aperture
- Shutter Speed
- ISO
These three settings make up what's known as the Exposure Triangle.
Once you understand how they work together, photography becomes much less intimidating.
Aperture (f-stop)
Aperture is the opening inside your lens that allows light into the camera.
Think of it like the pupil of your eye.
A larger opening lets in more light.
A smaller opening lets in less.
Low f-number (f/1.8 – f/2.8)
- More light
- Blurry background
- Excellent for portraits
- Great in low light
High f-number (f/11 – f/16)
- Less light
- More of the scene stays in focus
- Perfect for landscapes and architecture
Easy way to remember
Small f-number = Big opening.
Big f-number = Small opening.
Shutter Speed
Your shutter is like a curtain.
It opens, lets light in, then closes.
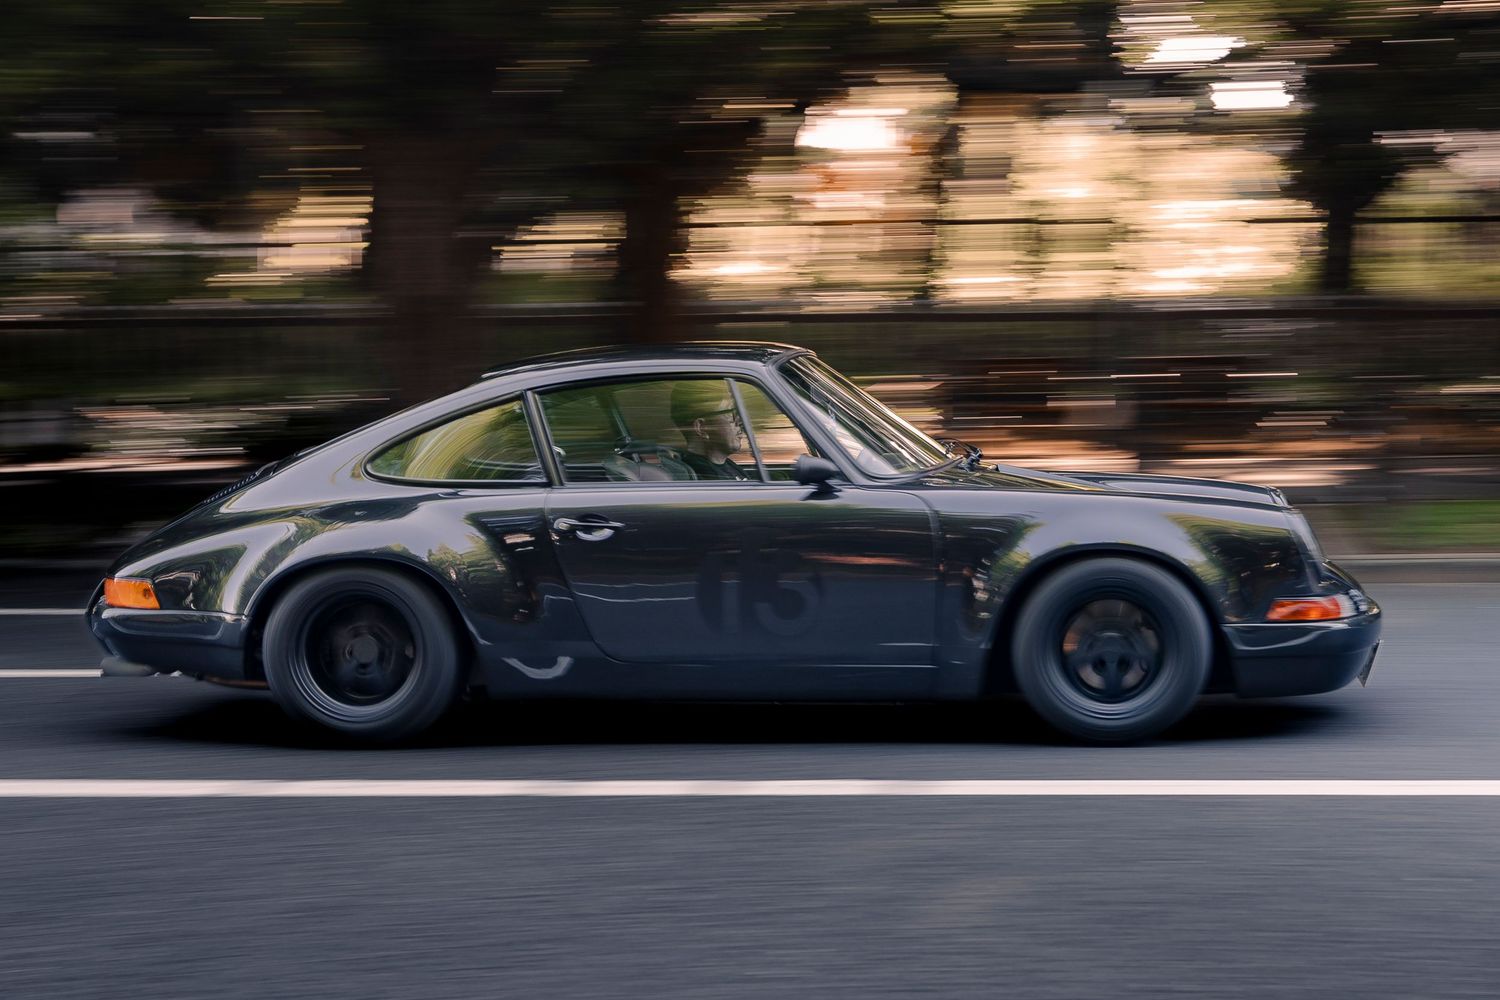
How long it stays open determines how movement appears.
Fast shutter speeds
Examples:
- 1/500
- 1/1000
- 1/2000
Best for:
- Sports
- Wildlife
- Kids
- Cars
- Birds
These freeze motion.
Slow shutter speeds
Examples:
- 1/15
- 1 second
- 10 seconds
Best for:
- Waterfalls
- Night photography
- Light trails
- Milky Way photography
Slow shutter speeds create beautiful motion blur but usually require a tripod.
ISO
ISO controls how sensitive your camera's sensor is to light.
Low ISO
Examples:
- ISO 100
- ISO 200
Produces:
- Cleaner images
- Better colors
- Less digital noise
High ISO
Examples:
- ISO 3200
- ISO 6400
Produces:
- Brighter images
- More visible grain (noise)
Modern cameras handle high ISO surprisingly well, but it's still good practice to keep ISO as low as conditions allow.
Putting It All Together
Imagine you're photographing a mountain landscape at sunrise.
You might choose:
- Aperture: f/11
- Shutter Speed: 1/30 sec
- ISO: 100
Now imagine photographing a race car at the track.
You might use:
- Aperture: f/2.8
- Shutter Speed: 1/2000 sec
- ISO: 400
Different situations require different settings.
There isn't one "perfect" camera setup.
Shooting Modes Explained
Most cameras offer several shooting modes.
Auto
The camera makes every decision.
Great for quick snapshots but offers very little creative control.
Aperture Priority (A or Av)
You choose the aperture.
The camera automatically adjusts shutter speed.
This is one of the best modes for beginners because you control depth of field while the camera handles exposure.
Shutter Priority (S or Tv)
You choose the shutter speed.
The camera adjusts the aperture.
Perfect for sports and action photography.
Manual (M)
You control everything.
It takes practice but offers complete creative freedom.
Many photographers eventually spend most of their time in Manual mode.
Focus Modes
Sharp photos depend on choosing the right autofocus mode.
Single Autofocus (AF-S / One Shot)
Best for:
- Portraits
- Landscapes
- Architecture
The camera locks focus once.
Continuous Autofocus (AF-C / AI Servo)
Best for:
- Wildlife
- Sports
- Cars
- Kids
The camera continuously tracks moving subjects.
RAW vs JPEG
Every photographer eventually faces this question.
JPEG
Pros
- Small file sizes
- Ready to share immediately
- Minimal editing required
Cons
- Less flexibility when editing
RAW
Pros
- Highest image quality
- More dynamic range
- Better color recovery
- Easier to fix exposure mistakes
Cons
- Larger files
- Requires editing software
If you're serious about improving your photography, shoot in RAW.
Composition Matters More Than Gear
Understanding your camera is important, but composition is what turns a good photo into a memorable one.
A few simple guidelines:
- Get closer to your subject.
- Keep backgrounds clean.
- Use leading lines to guide the viewer's eye.
- Look for symmetry and patterns.
- Shoot during golden hour whenever possible.
- Simplify your frame by removing distractions.
The best images tell a story, not just document a scene.
Practice Is the Real Secret
Photography is a skill built through repetition.
Challenge yourself to photograph something every day.
Experiment with different lighting.
Try shooting in Manual mode.
Review your mistakes.
Over time you'll begin making camera adjustments without even thinking about them.
Final Thoughts
Every experienced photographer started exactly where you are now.
Confused by settings.
Unsure when to change ISO.
Wondering what aperture actually does.
The difference isn't talent, it’s practice.
Learn one setting at a time. Spend a week experimenting with aperture. Then move on to shutter speed. After that, master ISO.
Soon you'll stop letting your camera make creative decisions and start making them yourself.
That's when photography becomes more than taking pictures, it becomes a way of seeing the world.